A shell scheme is a ready-made exhibition booth with aluminium poles, white wall panels, carpet, and lighting. It’s a blank canvas that every exhibitor receives; the difference between ordinary and outstanding comes down to design.
If you’ve ever walked into an exhibition hall, you’ve seen them: rows of identical booths lined up, waiting for personality. That’s the beauty and the curse of a shell scheme: everyone starts with the same frame, yet only a few manage to make theirs memorable.
You don’t need a huge budget or an elaborate build. A few design-smart choices, better lighting, clean graphics, and a clear layout can transform a standard box into a brand space that draws people in.
Let’s break down what a shell scheme really is, who it suits best, and how to make yours stand out for all the right reasons.
So, what exactly is a shell scheme?
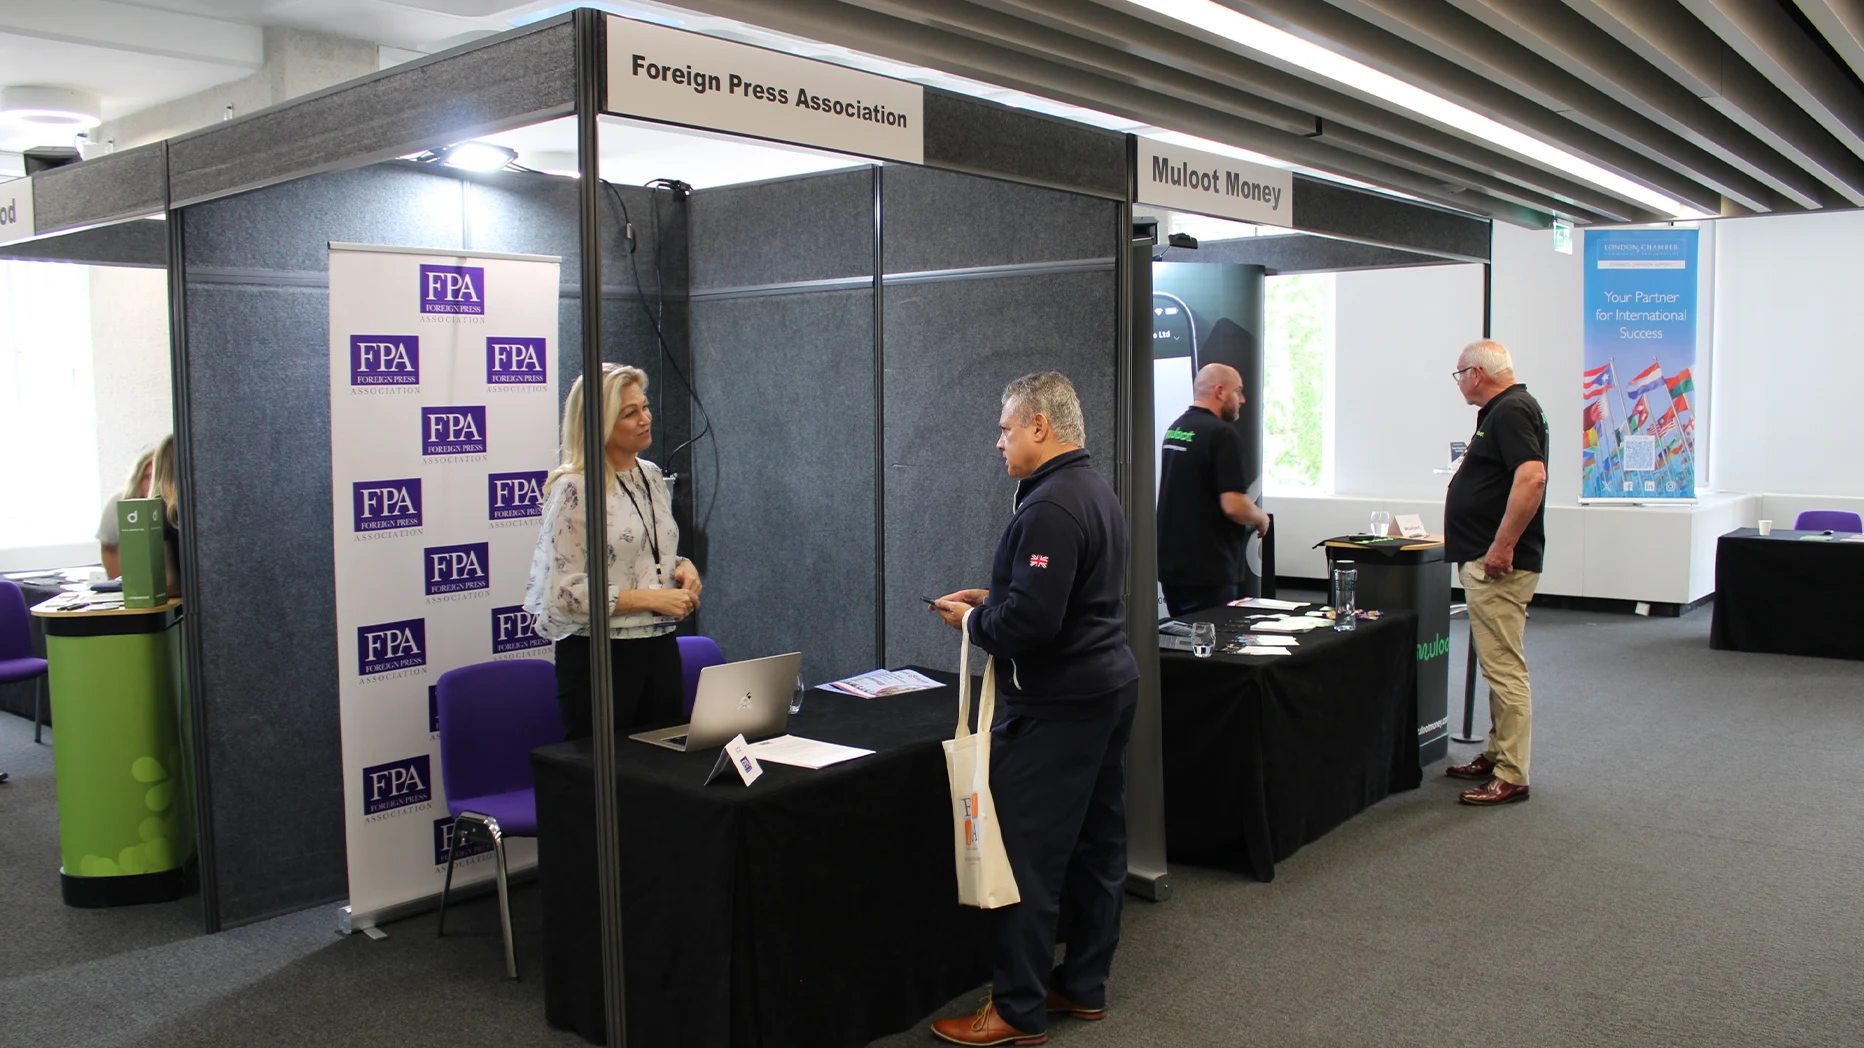
It’s the pre-built exhibition structure you rent from organisers, usually offered in sizes such as 3 × 3 m or 3 × 4 m, and supplied with walls, lighting, carpet and power.
Built from aluminium poles with panel walls, it’s a uniform system organisers use to section the floor neatly for exhibitors. You can attach graphics directly to the walls or use freestanding systems for more impact.
Note: When you book a shell scheme, your stand is built right next to other exhibitors. The walls you see are shared; one side faces your stand, and the other side belongs to the stand next to you.
So, if you remove a wall, you’re also removing your neighbour’s wall. That’s why organisers don’t allow it. If you want an open space, you need to book a corner or larger stand instead.
Most shell schemes have a height limit of around 2.4 metres, so plan your graphics and signage to fit within that boundary.
Why do businesses still choose shell schemes?
They’re affordable, fast to set up, and easy to personalise (perfect for first-time or frequent exhibitors). You might wonder: if everyone gets the same frame, why bother with it? Simple: convenience.
Here’s why exhibition shell scheme still wins for many exhibitors:
- It’s already built, just bring your graphics and gear.
- It’s affordable, with no heavy construction or shipping.
- It’s reusable, which is great for brands attending multiple shows.
- It’s sustainable, and reusing panels means less material waste.
Even global brands use them when they need several smaller setups across an event. The base may be standard, but what you do with it is what makes it special.
Shell scheme vs space-only stand
- Shell scheme = structure included.
- Space-only = empty floor, total freedom.
With a shell scheme, you rent space that already includes one, two or three walls, lighting (usually 500 W), carpet and a fascia board with your company name.
With space-only, you start from a bare floor. You design, build, and supply everything, ideal for large brands needing full creative control, but it comes with higher costs and logistics.
Who is a shell scheme ideal for?
Start-ups, small teams and first-time exhibitors who want simplicity and value.
It’s perfect for:
- Start-ups and small businesses.
- Companies are testing exhibitions before moving to custom builds.
- Teams on tighter budgets who still want a professional presence.
Major advantage?
Price and ease. It’s the most affordable way to get your brand seen on the show floor. The only risk? Design it poorly and you’ll disappear among a hundred competitors. Done right, it’s the best return on space per pound spent.
What size shell scheme should you book?
Pick a size that suits your goals: small for focus, medium for flexibility, and large for experience.
Small (2 × 2 m to 3 × 2 m)
Ideal for single products or demos. Keep it tidy and attach seamless graphics directly to the walls using Velcro or Foamex panels. Avoid bulky screens or furniture that eat into space.
Medium (around 6 × 2 m)
A little more breathing room. You can now include:
- Freestanding backlit panels or video walls.
- Small product plinths or demo counters.
- A stool and counter for short chats.
- Light games or interactive displays.
Large (anything from 6 × 4 m+)
This size offers full flexibility: multiple focal points, meeting corners, or layered product zones. Bigger space demands a stronger design hierarchy, so it still feels coherent.
How to make a shell scheme look good? 9 easy steps
Maximise your space, keep visuals simple, and layer light with colour and motion.
1. Choose a corner plot
If you can, book a corner stand. Two open sides feel larger and naturally draw more visitors. Add floor graphics or arrows to guide flow.
2. Use seamless graphics
Visible panel joins break your design. Use continuous prints on eco-board or Foamex to cover every inch. Secure them neatly with Velcro. Clean walls feel more professional and make the space feel bigger.
3. Remove or modify fascia boards
Fascia boards (the metal strip at the top with your name) can block visibility. If rules allow, ask for their removal to open up the booth, but check early. Once the framework’s built, it’s like Jenga: too many removals, and the structure weakens.
4. Light like you mean it
Standard venue spotlights often feel flat. Add warm LED strips, backlighting behind logos, or subtle downlights over displays. Balanced light creates depth and draws attention to key visuals.
5. Keep it simple
Visitors give you about five seconds. Choose one strong message, one focal image, and one call to action. Don’t overload panels with text or data; think billboard, not brochure.
6. Add movement
A small wall-mounted screen showing product loops or testimonials catches the eye without cluttering the floor. Sound works too; gentle background audio adds energy.
7. Hide the mess
Nothing ruins a design like storage chaos. Add a lockable reception counter to stash coats, boxes, and giveaways. Clean space = clear mind.
8. Think like a visitor
As people walk by, what catches their eye first? Big visuals, clear colours, and strong shapes. Keep your stand readable and open. Avoid clutter. Let one hero image or slogan do the talking.
9. Bring in smart furniture
A couple of stools, a counter, or a slim display shelf can make your booth look planned, not rushed. Keep furniture light and minimal so the space feels open.
Fresh shell scheme design ideas
Go minimal, go interactive, or go immersive; choose one design idea and own it.
Here’s how you can take the same structure and make it yours:
- Minimalist booth: Focus on one strong image and product, nothing more. Clean and modern.
- Interactive setup: Add touchscreens or demos that let people engage directly.
- Immersive display: Blend lighting, sound, and visuals for depth and atmosphere.
These ideas don’t cost a fortune, just good planning and clever design. We’ve seen small 3 × 3 m booths turn into showstoppers with the right mix of lighting and layout.
Common shell scheme mistakes (and how to avoid them)
Poor lighting, visible framework, clutter, and DIY design top the list.
Here are seven common pitfalls:
- DIY graphics look stretched or pixelated; invest in a print setup.
- Overcrowded walls: less is more.
- Design by committee? One clear message beats many opinions.
- Visible aluminium panels cutting through your logo undermines impact.
- Ignoring height restrictions (that 2.4 m limit catches many).
- Storage piles in the corner, plan where things go.
- Leaving your fascia boards up when neighbours remove theirs can block your signage from view.
Each is easy to fix when planned early.
Add a bit of AV wonder
AV elements, like screens, lights, and sound, bring energy and draw crowds instantly.
Want to know what instantly elevates a shell scheme exhibition stand? Technology. Screens, LED walls, or soft ambient lighting can transform a quiet booth into a magnetic one.
At AV Productions, we design set-ups that integrate these seamlessly, with no mess, no tangled cables, no stress. It’s how small stands look big, and simple ones feel premium.
Why does it help to get professional support?
An experienced exhibition designer saves time, stress, and missed details.
Also, experts can transform even small booths into branded experiences that attract attention. It’s not about how big your space is; it’s about how you use it. Professionals know how to make even a 3×2 m booth feel bespoke. They understand print tolerances, safety regulations, and how to position lighting or screens for flow. They’ll also manage all the dull paperwork and organiser approvals for you.
That’s what AV Productions London does best. We handle everything: shell scheme rental, graphics, lighting, furniture and AV set-up, so you can focus on what you came to do, connect with people.
Let’s make your shell scheme stand out
A shell scheme is the simplest way to exhibit, but “simple” doesn’t have to mean “standard.” With the right layout, seamless graphics, and a few smart lighting choices, you can create a stand that feels open, modern, and unmistakably yours.
You’ve got the space. Now give it the wow factor. AV Productions offers full shell scheme hire and exhibition setup in London, including lighting, AV, and design support. Contact us today, and let’s turn your stand into the one everyone remembers.
FAQs
What’s included in a shell scheme rental?
Usually, the walls, lighting, carpet, fascia board, and basic power sockets are included.
Can I remove a wall or fascia board?
Only if organisers approve, they’re structural, so always confirm before planning an open-sided design.
Can I customise my shell scheme booth?
Yes. Add your graphics, lighting, and even small AV setups to make it unique.
How much does a shell scheme hire cost?
It depends on the event and size, but it’s one of the most budget-friendly exhibition options.
How tall can my stand be?
Most shell schemes have a height limit of 2.4 m: check the exhibitor manual before printing tall graphics.
What’s the difference between a shell scheme and a custom stand?
A custom stand is built entirely from scratch. A shell scheme is pre-built, faster, easier, and cheaper to personalise.
Who should use a shell scheme?
Start-ups, small businesses, and anyone testing exhibitions before investing in a custom stand.